Rules of Line Creation and Use
The following rules will help us create lines that communicate effectively. CAUTION! Due to computer automation, some of the rules may be hard to follow.
Using Hidden Lines.
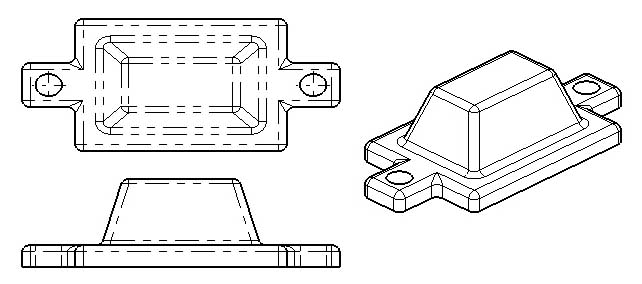
Hidden lines represent edges and boundaries that cannot be seen.
Creating Hidden Lines
- Rule 1: The length of the hidden line dashes may vary slightly as the size of the drawing changes.
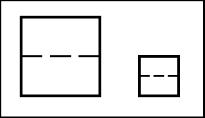
- Rule 2: Hidden lines should always begin and end with a dash. An exception is when the hidden line begins or ends at a parallel visible or hidden line.
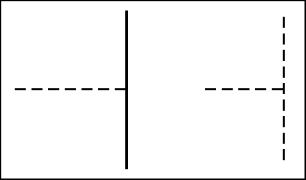
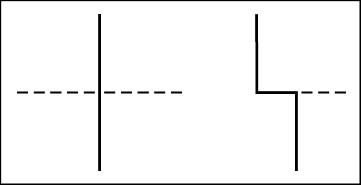
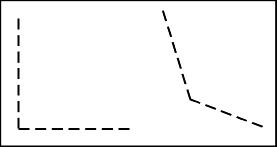
- Rule 3: Dashes should join at corners.
Using Center Lines
Center lines represent axes of symmetry.
- They are important for interpreting cylindrical shapes.
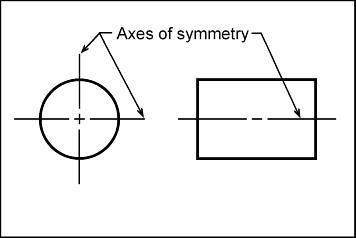
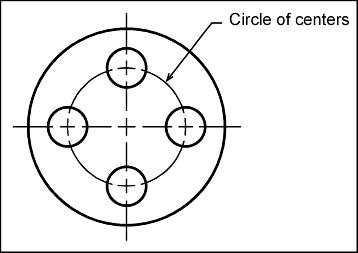
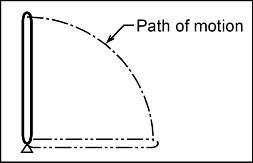
- They are also used to indicate circle of centers and paths of motion.
Creating Center Lines
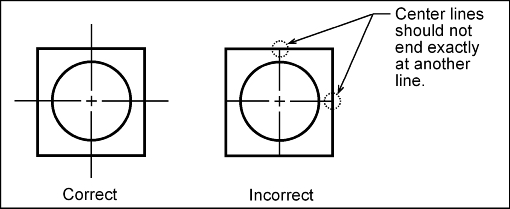
- Rule 1: Center lines should start and end with long dashes.
- Rule 2: Center lines should intersect by crossing either the long dashes or the short dashes.
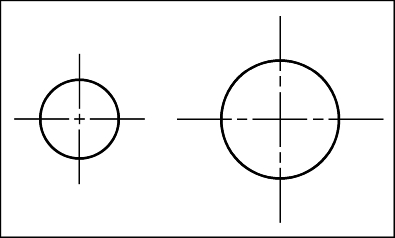
- Rule 3: Center lines should extend a short distance beyond the object or feature.
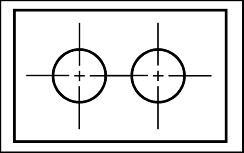
- Rule 4: Center lines may be connected within a single view to show that two or more features lie in the same plane. CAUTION! Center lines should not extend through the space between views
Using Phantom Lines.
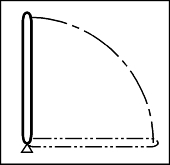
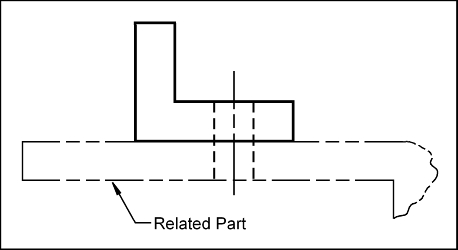
Phantom lines are used to indicate imaginary features.
- Alternate positions of moving parts.
- Adjacent positions of related parts.
- Repeated details.
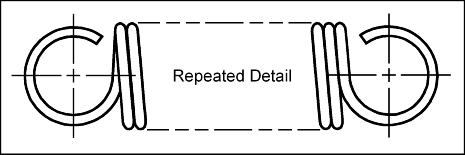
- Show a change in surface direction produced by fillets and rounds.
Creating phantom lines
- Rule 1: Phantom lines should start and end with a long dash.

Using Break Lines
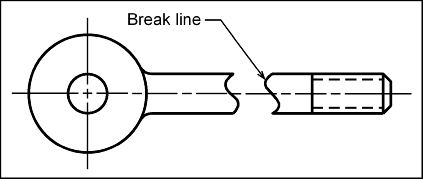
Break lines are used to show imaginary breaks in an object.
Creating Break Lines
There are two types of break lines. If the distance to traverse is short, a series of connecting arcs is used. If the distance is long the thin straight line with a jog is used.

Line Precedence
If two lines occur in the same place, the line that is considered to be the least important is omitted.
Lines in order of precedence/importance are as follows;
- Cutting Plane line
- Visible line
- Hidden line
- Center line
